

Summer Veggie Headstart: Tomatoes, Peppers, Eggplant – Oh My!


Let's be real, it might still be the "wear four sweaters at once" season outside, but your garden doesn't know that. And neither do you, because you're about to level up your summer harvest with the magic of indoor seed starting. Imagine all those tomatoes, peppers, and eggplants... ripening faster, growing bigger, and tasting...well, like edible sunshine from a plant you practically raised from a baby. Buckle up, buttercup, because we're going on a seed-starting adventure!
Why Grow Things From Seeds When You Can Just Like... Go to the Store?
Ever wanted a tomato that tastes like a pineapple AND looks like a tiger? Seed catalogs are the culinary equivalent of a magic wand. Suddenly, the garden variety veggie aisle looks kinda boring.
Maybe you're a control freak with trust issues. Starting seeds indoors means you decide what kind of weird chemicals (aka none) go into your food.
Think vegetables can't be exciting? Try getting a kid into gardening without offering them a pepper the size of their head or a tomato with glow-in-the-dark zebra stripes. Okay, that last part might be a lie, but the kid enthusiasm is real.
Because if you don't do this now, come August, you'll be the weirdo begging neighbors for zucchini. Trust me, I've been there.
Shopping For Seeds is a Perfectly Acceptable Form of Procrastination
Here are some of my seed-buying black holes. Get lost for an afternoon and emerge with an arsenal of veggie possibilities:
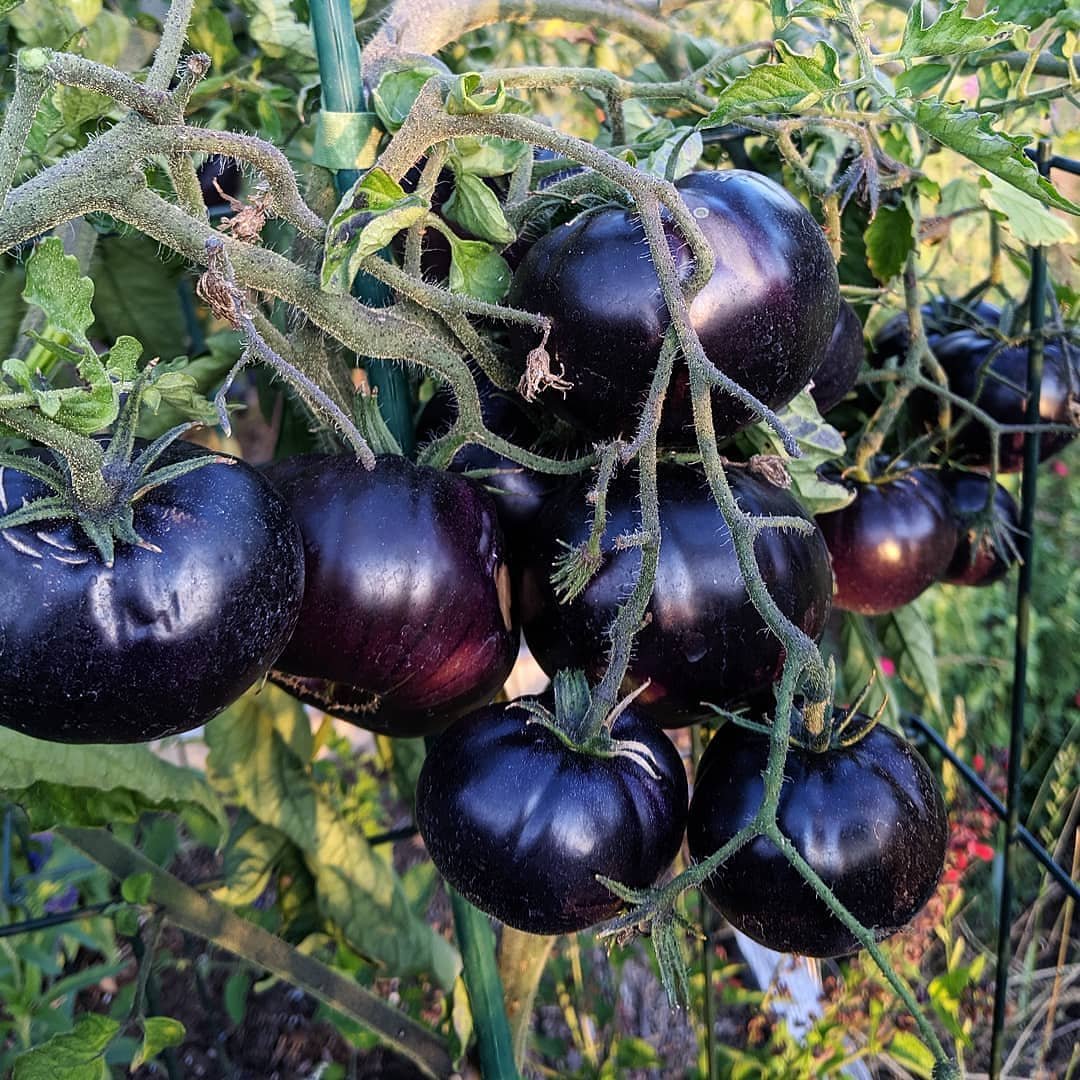
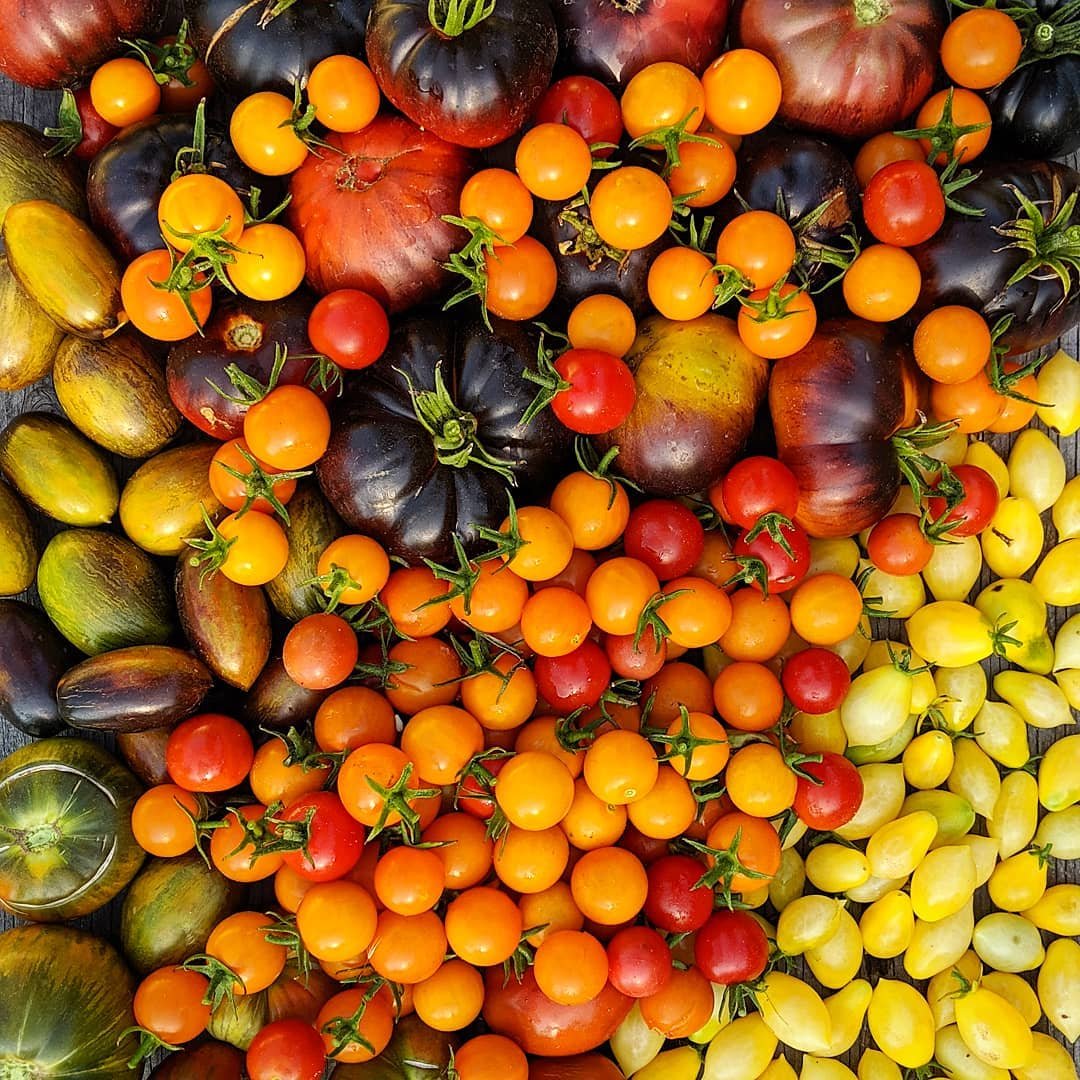
Wild Boar Farms: This place is the eccentric uncle of the seed world. Imagine tomatoes with fireworks of color like blue, purple, green, and more!
Carmel Bella Farm: A beautiful, handcrafted collection of heirloom and open-pollinated tomatoes and peppers.
Or, ya know, the classics: Seed Savers, Annie’s Heirlooms, Territorial Seed, and Johnny's. All carry awesome staples. Sometimes predictable is nice when you're dealing with something as volatile as Mother Nature.
Okay, Let's Talk Setup. No Greenhouses Required.
Transforming a forgotten corner of your home into a seed-starting sanctuary is simpler than you think. You don't need a greenhouse – just a bit of space and some light. LEDs or standard shop lights will do just fine, mimicking the sun's embrace. And a heat mat? That's the secret to coaxing those seeds out of their slumber.
I remember setting up my first seed starting station on an old desk by the window. It was makeshift, but to me, it was a laboratory of life, where each seed tray held endless possibilities.
Any flat surface will do: You need space for trays, so shelves, desks, or even the top of your dryer – just be ready for seedlings to randomly launch themselves during the spin cycle.
Seeds hate being cold... almost as much as I do: Heat mats = faster germination. Alternatively, put seed trays on top of your fridge where it's toasty. Added bonus: excuse to buy more snacks since they may disappear under mysterious seedling-related circumstances.
Don't be that person who buys every cute pot at the store (or do): Yogurt containers, egg cartons... literally anything with drainage holes works. This is your chance to repurpose weird takeout containers that your spouse may or may not notice are gone.
Fancy Equipment Not Required: Here's the Bare Minimum
Seed-starting mix: Regular potting soil suffocates those delicate little roots. It's the plant equivalent of being buried alive during naptime. Pick up some seed starting mix at your local nursery or make your own!
Plastic Solo cups are not just for parties: Don’t want to purchase seed trays? These cups are the perfect size for starting individual seeds!
Don't trust your plant ID memory: Labels may seem silly, but 8 weeks from now, your "fiery jalapeno" could be a mild bell pepper. Your tastebuds will never forgive you.
Tiny plants hate huge downpours: Think watering can or spray bottle aimed with surgical precision. We're going for moist, not waterlogged.
A pointy thing: Pencil, dibble, chopstick (washed!) for making planting holes.
DIY Seed Starter: The "I Grew the Potting Mix, Too!" Edition
If you're the kind of gardener who likes to roll up your sleeves (and get a little dirt under your fingernails), then DIY potting mix is for you! And for added bragging rights, use this eco-friendly blend – so good for your plants and the planet.
The Miracle Ingredients:
Coco Coir (aka Magical Coconut Hair): It's fluffy, holds water like a champ, and is way more sustainable than digging up precious ecosystems for peat moss. Think of it as your plants chilling on a tropical beach towel made of coconuts.
Vermiculite (Sounds Fancy, Right?): Imagine tiny sponges in your mix – it lightens things up and boosts drainage, giving those baby roots room to wiggle their toes.
Perlite (Not the Jewelry Kind): These little white volcanic rocks ensure airflow through your mix. Basically, they make sure your seedlings aren't suffocating with too much love.
Worm Castings (Just Fancy Poop): Your secret weapon. This stuff is concentrated plant nutrients, ready to power those seedlings into green, leafy powerhouses.
The Earth-Friendly Potion Recipe:
Making your potting mix can be an enriching experience. It's about finding the perfect blend of ingredients like coco coir, vermiculite, perlite, and worm castings – each playing a vital role in nurturing your seedlings. This mix isn't just good for your plants; it's a nod to sustainable gardening practices.
Activating Coco Coir: Coco coir typically comes compressed in bricks. Simply rehydrate it according to the package instructions to transform it into a usable, fluffy growing medium. This process can be surprisingly enjoyable, much like mixing up a large batch of soil.
Mixing the Perfect Growing Medium: Combine coco coir, vermiculite, and perlite in approximately equal parts. The exact proportions aren't critical – a balanced blend is what you're aiming for, as precise measurements are less important in gardening.
Enriching with Worm Castings: For an added nutrient boost, incorporate a generous amount of worm castings into the mix – about one or two handfuls per gallon of your soil blend. This step infuses your mix with vital nutrients essential for plant growth.
Achieving the Right Moisture Level: Thoroughly mix your soil blend and moisten it to achieve the consistency of a damp, but not waterlogged, soil mix. This moisture level is ideal for seed germination and healthy root development.
Why Your Plants Will Love This Mix
Eco-Friendly and Effective: Switching from peat moss to this homemade mix is not only better for the environment but also highly effective for plant growth.
Promoting Healthy Roots: The blend’s light and airy composition helps prevent overwatering and root rot, creating an ideal environment for healthy root development.
Nutrient-Rich Composition: This mix is packed with nutrients essential for robust seedling growth, offering a rich buffet that fosters strong and vigorous plants.
Customizable Mix: Feel free to adjust the mix to suit specific plant needs. Adding more perlite can benefit plants that prefer a drier soil, while moisture-loving plants might require less. This flexibility allows you to tailor the soil mix to your garden's specific needs.
The Moment of Truth: Planting the Seeds
Understanding Seed Packets: It's important to read the seed packet instructions for specific guidance on planting depth and moisture requirements. These instructions are key to successful germination and growth.
Planting Seeds: When sowing seeds, it's advisable to plant a few seeds per container. Once they germinate, thin out the weaker seedlings to avoid overcrowding and to give the stronger ones better growth opportunities.
Caring for Tomato Seedlings: Tomato seedlings thrive with warmth and plenty of light. Using a heat mat and ensuring they get bright light once sprouted will encourage healthy growth.
Growing Peppers: Peppers, particularly the spicier varieties, might take longer to germinate and require a bit more patience. Keep them warm and monitor their progress closely.
Nurturing Eggplants: Eggplants enjoy warm conditions as well. Providing a consistent heat source will help in their development and lead to a healthy harvest of glossy, purple fruits.


Moving Day!
Transitioning your seedlings to the outdoor garden is a critical step. It's about slowly introducing them to the world they will soon inhabit. This 'hardening off' process can be nerve-wracking - I remember anxiously watching over my first batch of seedlings, hoping they'd find their strength in the new environment.
Frost will undo your hard work: Don't be fooled by sunny March days. Research your specific frost dates . And be a bit cautious – those dates aren't set in stone.
"Hardening Off" sounds vaguely threatening: It's just gradually introducing your precious babies to the real world – sun, wind, a squirrel giving them the stink-eye. Start a week before planting out.
Amending Soil: Like making your garden bed a giant bowl of compost-enhanced goodness. Your veggies will basically give you a standing ovation when you put them in the ground. Just try to contain your smugness.


A Bounty of Weirdly Shaped Veggies Awaits – Our Fave Varieties
Here's a taste of the strange and wonderful things you can grow from seed:
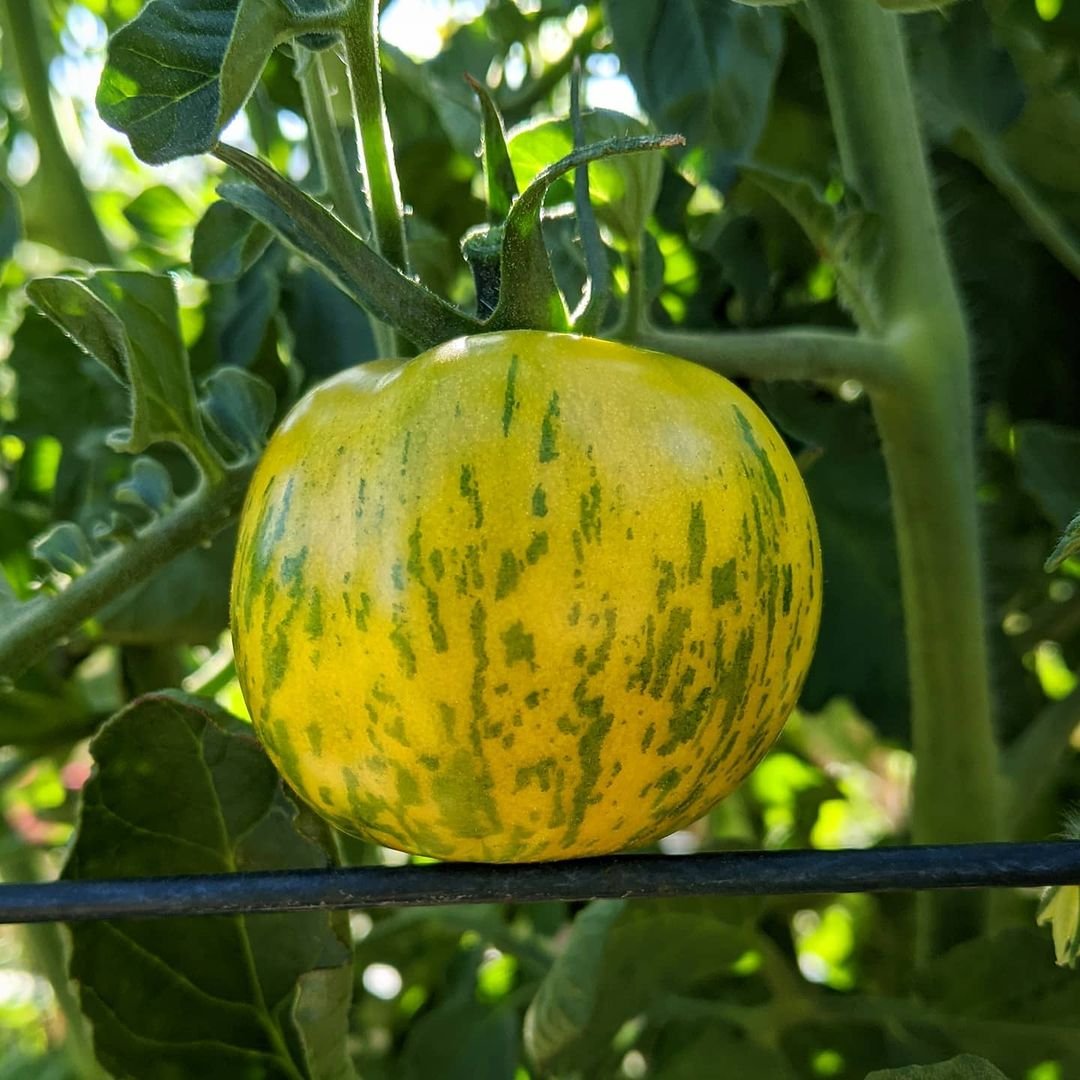
Brad's Atomic Grape: Tiny, striped gems of tomato sweetness. Like someone turned up the flavor dial to 11.
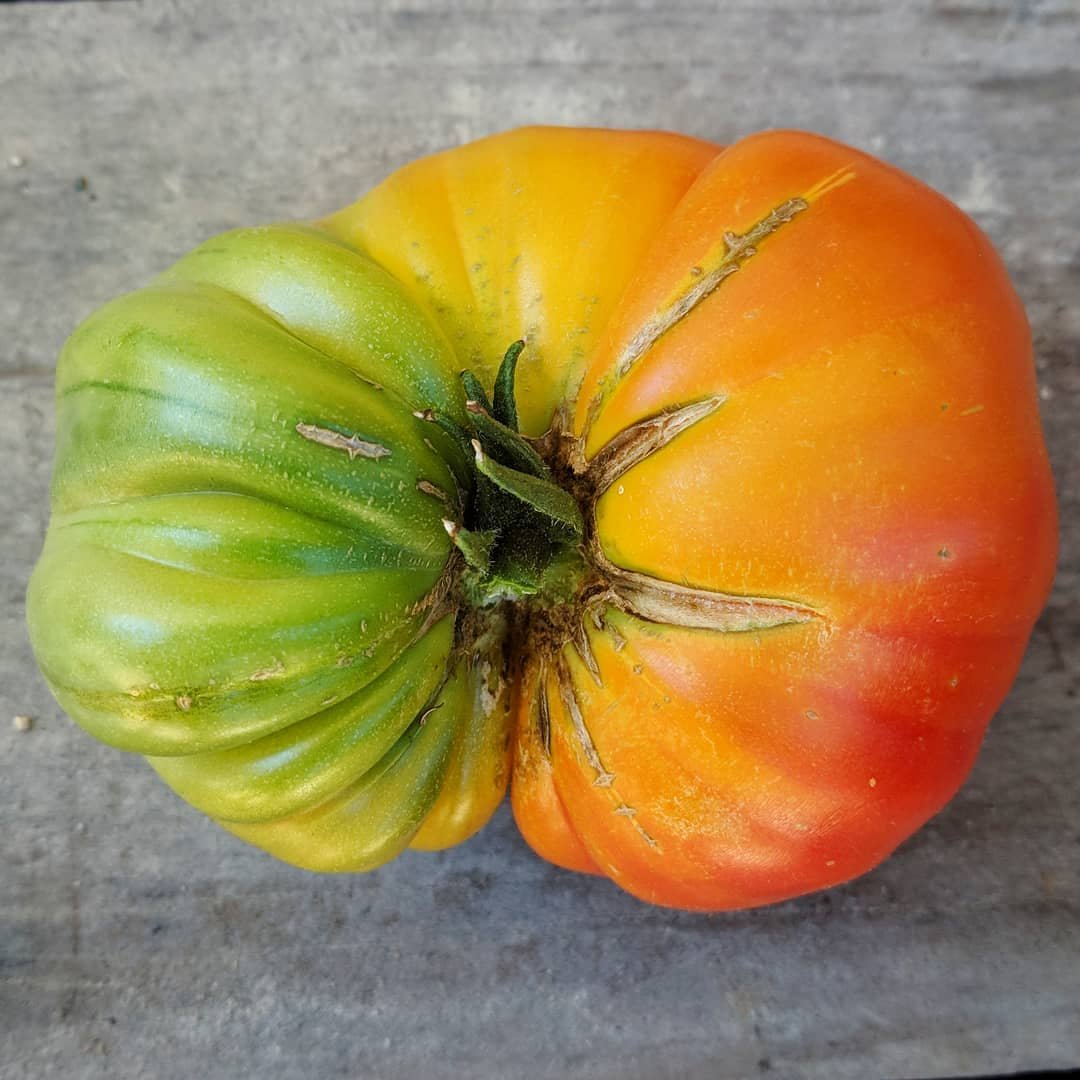
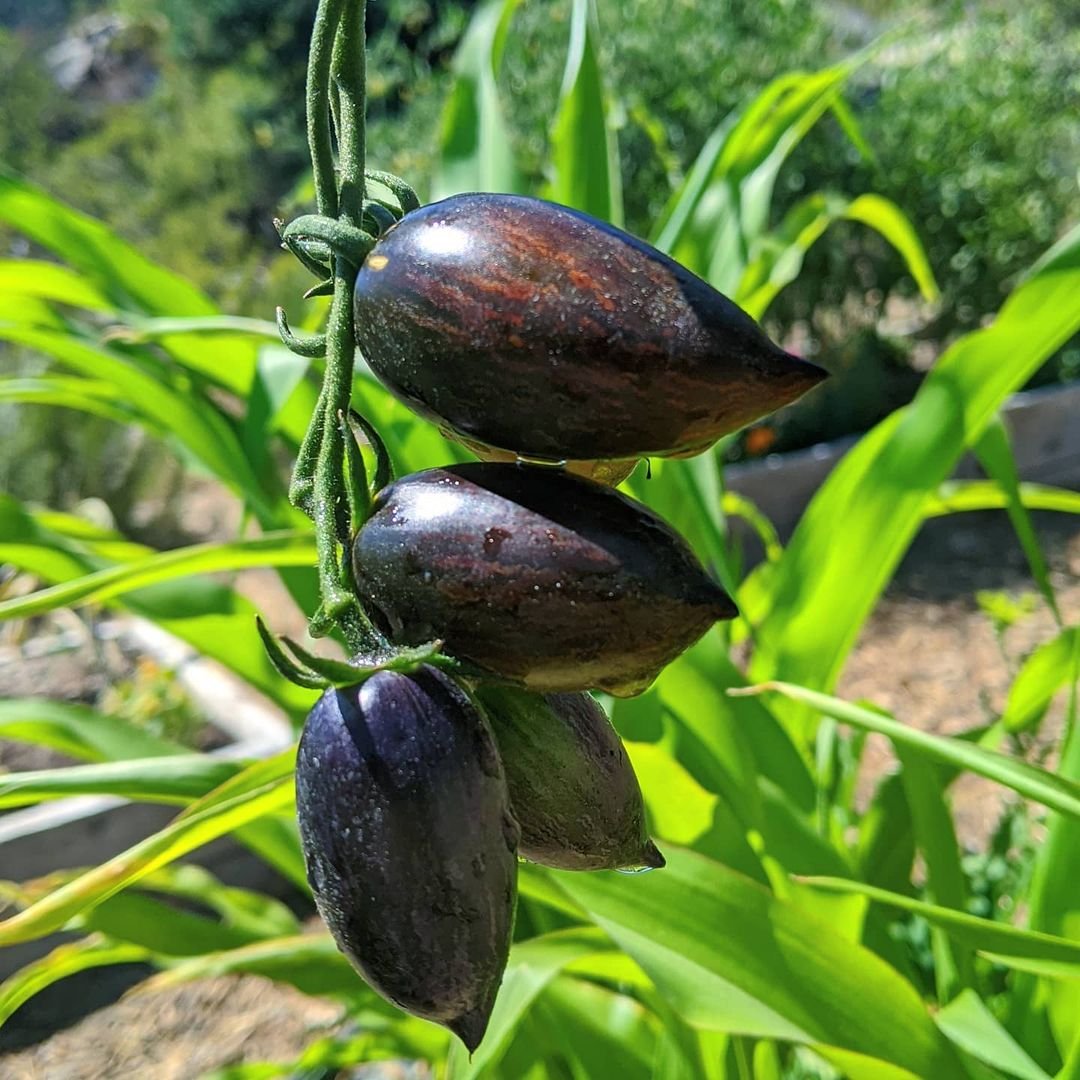
Ananas Noir: Imagine a beefsteak had a lovechild with a pineapple. Sweet, fruity, and the flesh looks like a psychedelic sunset. It's almost too pretty to eat. Almost.
Chiltepin: These firecrackers look deceptively innocent. A traditional wild pepper from Mexico, they pack a wallop that could wake the dead. Perfect if you crave some culinary adventure with a side of "did I make a horrible mistake?"
Giant Aconcagua: Your friends will never look at bell peppers the same way. Prepare for epic stuffed pepper nights and salads so colorful they require sunglasses.
Buena Mulata: A hint of smoke, a touch of chocolate, and a whole lot of personality. You'll sound super fancy dropping this pepper's name to unwitting dinner guests.
...I could go on forever, but there's always Google and fellow garden nerds willing to tell you about their absolute favorite obscure tomato. It's a friendly cult, I promise.

Beyond Planting: Practical Tips for Healthy Growth
Seedling Thinning: It's essential to thin out seedlings. This process involves removing the less vigorous seedlings to give the stronger ones enough space and resources to grow. It's a necessary step to prevent overcrowding and ensure healthy development.
Repotting for Growth: As your seedlings grow, they may outgrow their initial containers. Transplanting them into larger pots (up-potting) can provide the additional space they need for continued growth and root development.
Appropriate Fertilization: When it comes to fertilizing, start with a diluted liquid fertilizer suitable for young plants. Over-fertilizing can be harmful, so it's important to follow recommended guidelines and avoid overly strong solutions.
Summer Garden Pro Tips for Optimal Growth
Sunlight is Crucial: Ensure that sunlight-loving plants like tomatoes, peppers, and eggplants receive at least six hours of sunlight daily. Adequate sun exposure is key to flavorful and healthy produce.
Soil Quality Matters: Regularly enriching your garden soil with compost can significantly improve plant health and yield. Good soil not only nurtures plants but also enhances your overall gardening experience.
Utilize Mulch Effectively: Applying mulch is a great strategy to suppress weeds and maintain a neat garden appearance. It also helps in retaining soil moisture and regulating temperature.
Support Your Plants: Providing structural support with cages for tomatoes and trellises for peppers helps manage plant growth, prevents sprawling, and facilitates better air circulation and sun exposure.
Stay Vigilant Against Pests: Regular monitoring for pests and diseases is essential. Addressing problems early on can prevent damage to your plants and ensure a healthy garden ecosystem.


Time to Feast Like Veggie Royalty
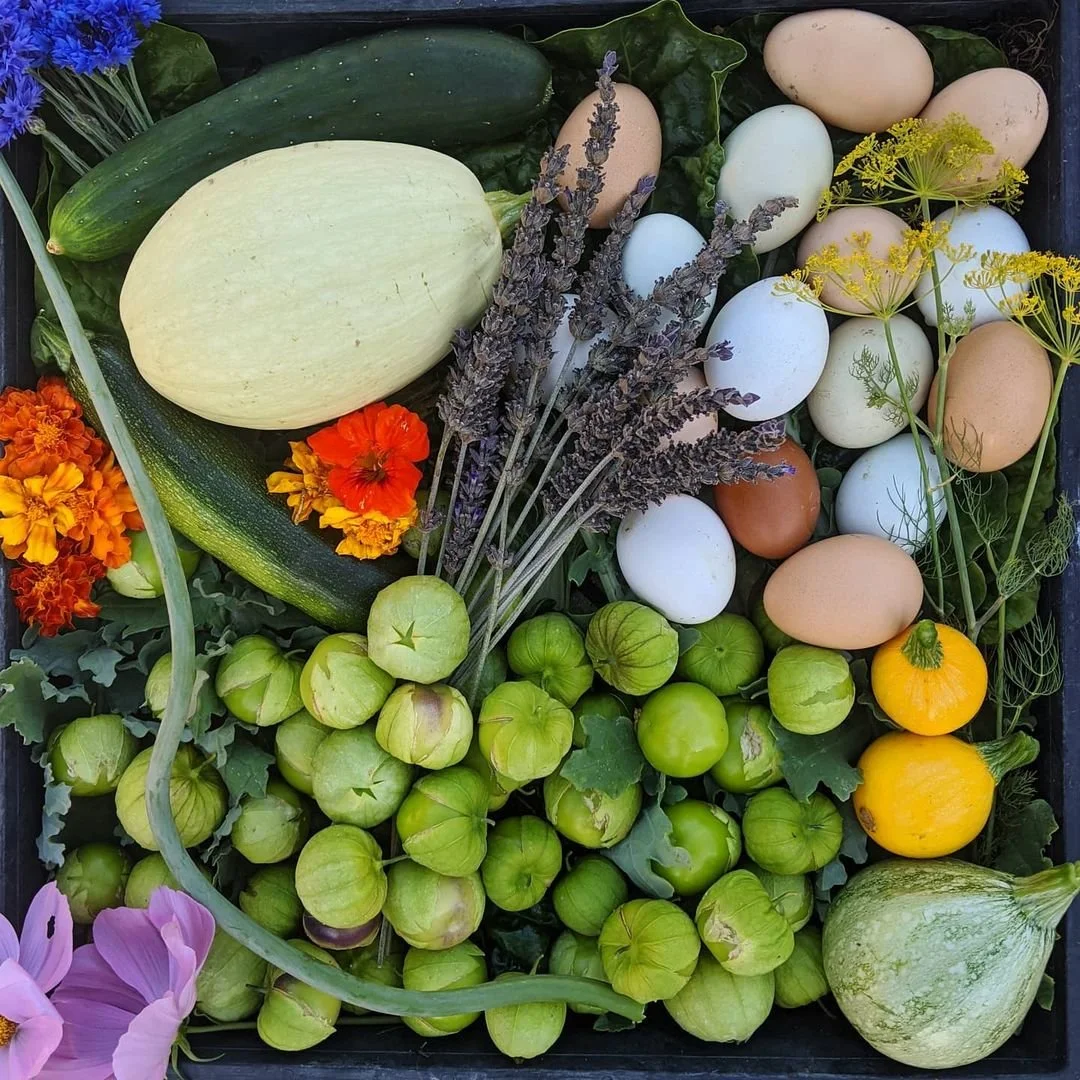
Revel in the rewards of your garden labor by enjoying the harvest in various delightful ways:
Salad Bar in Your Garden: Simple and fresh, use your garden's produce to create salads. A touch of olive oil and a pinch of salt can elevate the flavors of your homegrown veggies.
Spicy Adventures with Homemade Hot Sauce: Those spicy peppers you've nurtured? They're perfect for crafting your own hot sauce. Just remember to be cautious when handling them.
Grilled Vegetable Delights: Grilling your garden vegetables can add a delicious depth of flavor. The variety of veggies you've grown will make for an impressive and tasty grilled feast.
Homemade Tomato Sauce: Transform your tomatoes into a rich, flavorful sauce, perfect for storing and enjoying long after the harvest season.
A Message for Fellow Imperfect Gardeners
Here's the thing about gardening: it's supposed to be fun, but there will be days when you swear the plants are mocking you. Bugs appear overnight, squirrels make off with your best tomato, and sometimes, stuff just…dies. It happens to us all. Don't give up! Instead, grab a beverage of choice, survey the veggie carnage, and laugh a little. Because a day spent battling aphids and wrangling rogue cucumber vines is still a day spent outside, with your hands in the dirt, making things grow.
Now go forth and conquer those seeds! Share your successes (and hilarious fails, those are important too) along the way, and if you find yourself overwhelmed, remember – you're growing delicious things, and that's the very definition of awesome.